From Photo to Fine Art: The Process Behind Personalized Automotive Paintings
There’s something timeless about a well-loved car. Whether it’s a restored classic, a daily driver, or a family heirloom, these machines hold memories, milestones, and meaning. With personalized automotive paintings, you can transform those memories into stunning works of art. But what exactly goes into creating one?
In this post, we take you behind the scenes to explore how artists like those at Bob’s Automotive Art turn your car photos into custom masterpieces—from concept to completion.
Step 1: Choosing the Perfect Photo
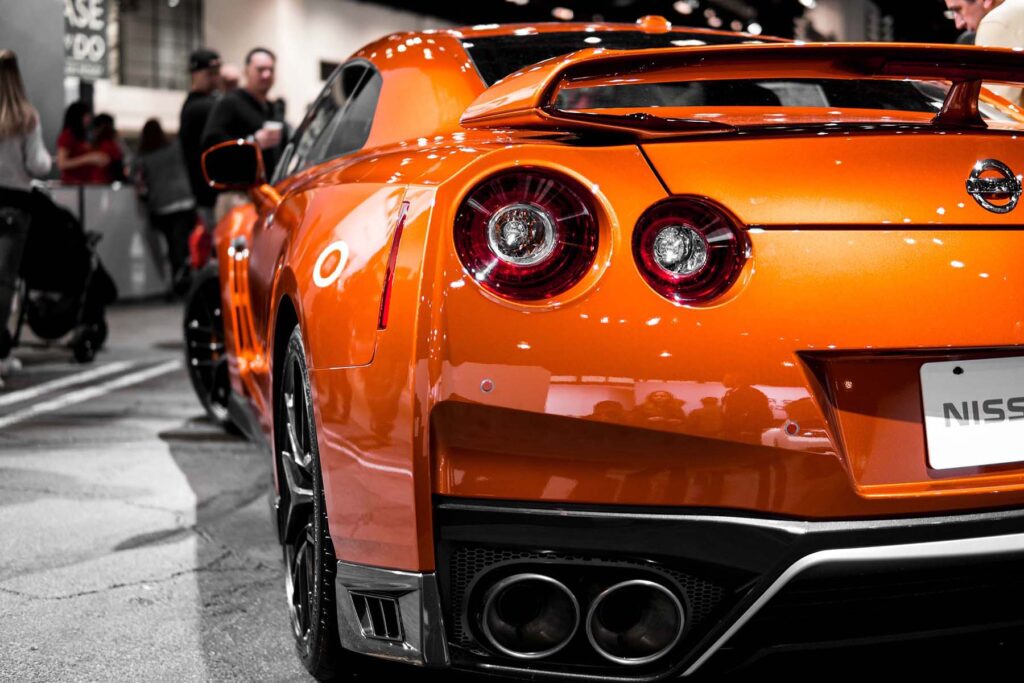
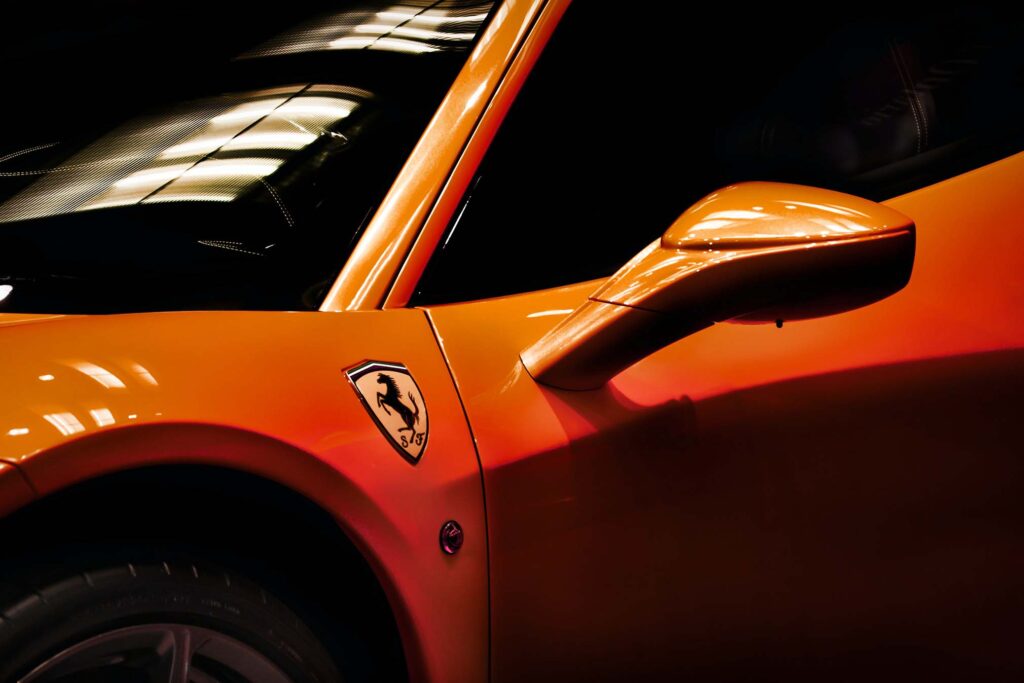
It all starts with the photo. The artist relies on a high-quality image to capture the car’s personality, color, lighting, and proportions. Whether your photo was taken at a car show or in your driveway, the more detail it provides, the better the final artwork will be.
Some tips for selecting the best photo:
- Make sure the car is well-lit and in focus
- Avoid heavy shadows or blurry motion
- Include angles that show the car’s character (grille, wheels, body lines)
Step 2: Discussing Style and Preferences
Once the artist has your photo, the next step is personalization. You’ll have the opportunity to discuss:
- Preferred background (garage, scenic road, racetrack, etc.)
- Realistic vs. artistic rendering (photo-realism, impressionism, stylized)
- Canvas size and orientation
- Any specific features to emphasize (badges, lighting, colors)
This step ensures your personalized automotive painting is more than just a reproduction—it’s a tribute to your car and your vision.
Step 3: Sketching the Layout
Before diving into the paint, the artist creates a rough sketch or layout. This can be done digitally or by hand, depending on the medium. It outlines:
- The car’s proportions and angle
- Background elements and composition
- Lighting direction and shadow structure
This draft stage is where adjustments can still be made before the final rendering begins.
Step 4: Bringing the Painting to Life
With the layout approved, the artist begins the painting process. Depending on the chosen medium—oil, acrylic, watercolor, or digital—the timeline and technique vary.
Key elements of the painting stage include:
- Base layers to define color and form
- Gradual build-up of highlights, reflections, and shadows
- Detailing work on wheels, trim, headlights, and texture
Professional artists often use fine brushes and magnification tools to capture intricate details like chrome finishes and emblems.
Step 5: Adding the Final Touches
After the main painting is complete, the artist focuses on final refinements, which may include:
- Color corrections or enhancements
- Texturing for depth and realism
- Adding personal signatures, dates, or inscriptions
Some collectors also request archival framing or canvas stretching for gallery-style presentation. This elevates the finished piece into a museum-quality display.
Step 6: Delivery and Lasting Value
Once complete, your painting is carefully packed and shipped to preserve every detail. What started as a photo is now a piece of art that honors the soul of your car—and creates a visual legacy for years to come.
Personalized automotive paintings make memorable gifts for:
- Retirements or anniversaries
- Father’s Day or birthdays
- Car show trophies and awards
- Dealerships or club members
Why Choose Custom Automotive Art?
Custom artwork isn’t just decorative—it’s deeply personal. When you commission a painting of your vehicle, you’re preserving a story. Whether it’s your first car, a dream ride, or a race-winning classic, this process turns horsepower into brushstrokes.
Want to see what’s possible? Check out the gallery at Bob’s Automotive Art for past commissions and inspiration.
Final Thoughts
Creating personalized automotive paintings is a collaborative and creative journey—from a cherished photograph to a work of fine art. The process is detailed, meaningful, and ultimately rewarding for car enthusiasts and collectors alike.

